Showing posts with label Budgeting. Show all posts

Tuesday, July 19, 2011

Yes, We're Still Alive...

Hi friends!  Sorry for the long blogging pause.  We took a road trip to Yellowstone and the Grand Tetons (which were absolutely stunning), and along the way…we lost our camera.  Yup.  It’s a trip of all mental snapshots for us.  If you’re interested in the whole story, see my “P.S.” at the bottom of this post.  Needless to say, it’s difficult to blog without a camera, and while I probably could have dug up some old photos, I decided that since I’m on summer vaca it couldn’t hurt to take some additional time off.

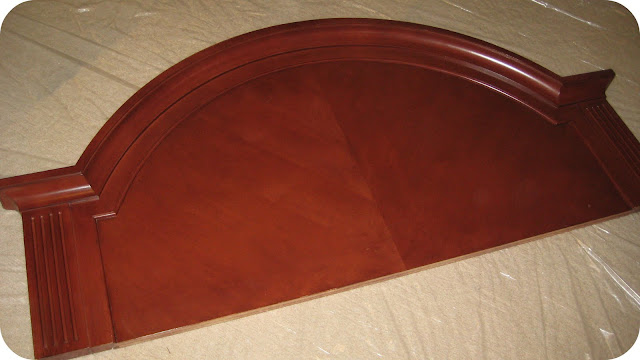
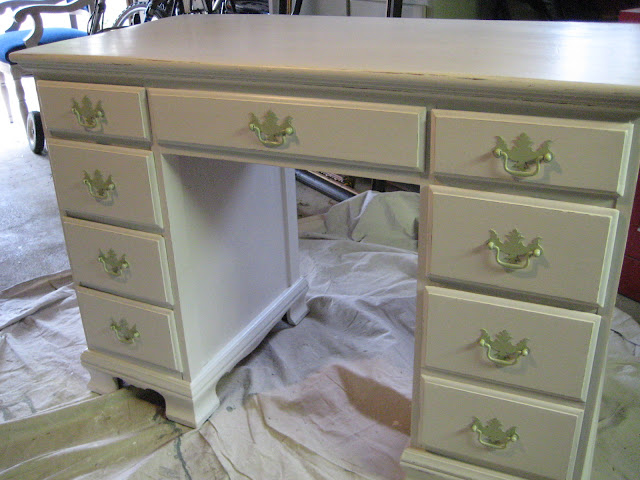
Now that I’m done rummaging up excuses for my absence, I have some exciting news to share!  Remember the desk I scored at the ARC (which is a killer thrift store in the Springs, similar to Goodwill, but better)?


Well, I finally posted it on Craigslist and it sold today!  I literally waved goodbye to it not ten minutes ago.

As it turns out, the desk was pretty popular.  I had lots of people emailing and asking if it was still available.  Unfortunately, as many of you know, Craigslisters tend to be a bit wishy washy.  One minute they’re “very interested” in your stuff, the next they’re not even returning your emails.  I suppose you could say I have a love/hate relationship with good ole’ Craigster.  In the end though, it was worth it to be patient.  Julia, a beautiful, sweet college gal had apparently been hankering for a desk of this type for months, and she was smitten by this one.  She said it’s going to be the “apartment desk,” which I’m guessing means it’ll be used communally by all her roommates—love that idea.  She kept running her hands over it and saying how perfect it was.  Yay, right?!  When she and her mom drove off after picking up the desk, I could still hear her squealing with delight over her find.  Honestly, I think she was the perfect person to buy it.  Julia, if you’re out there, it was so fun to meet you!  Wishing you the best as you enter college!

We didn’t make out too badly in the end either.  I bought the desk for $15, purchased paint supplies (which I’m not counting, since I have tons of product leftover and will definitely use those supplies for a plethora of projects in the future), and sold it for $75.  Not too shabby!

Really, I’m thrilled with the way this experiment went.  A few things I learned along the way:

1.)    Painting/updating furniture is fun for me, so it didn’t feel like work—that’s a plus when you consider that time is money.

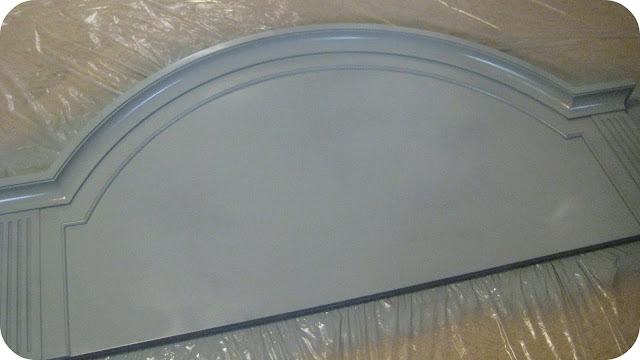
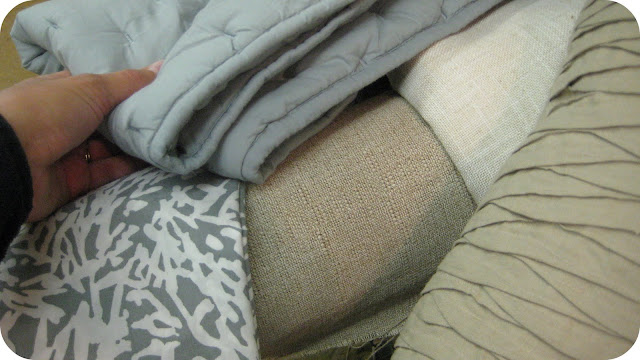
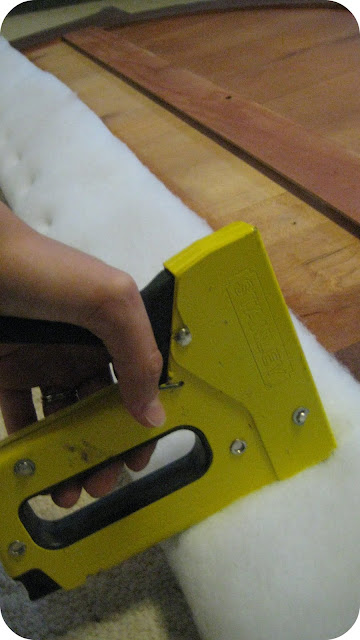
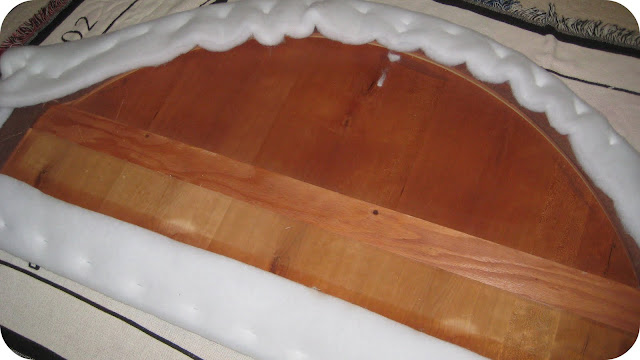
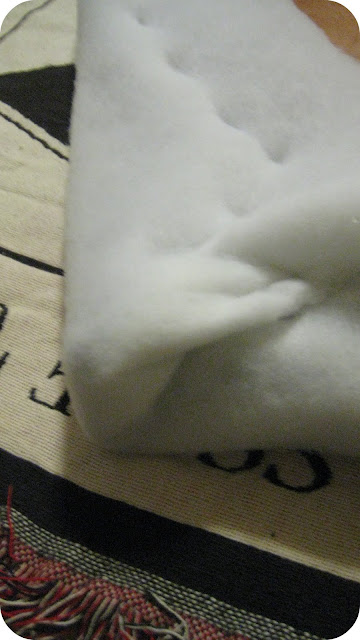
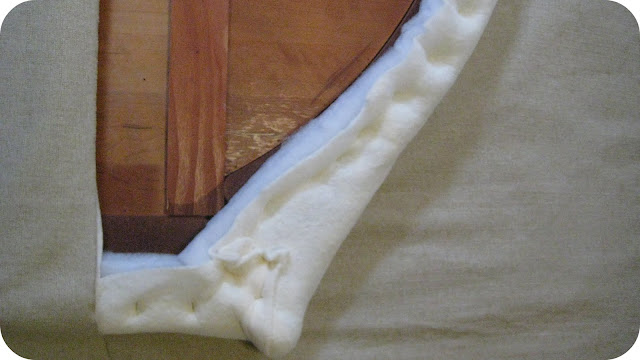
2.)    I learned new painting techniques (see this post for more details); even though it’s going to be a continual learning process, I had to start somewhere.

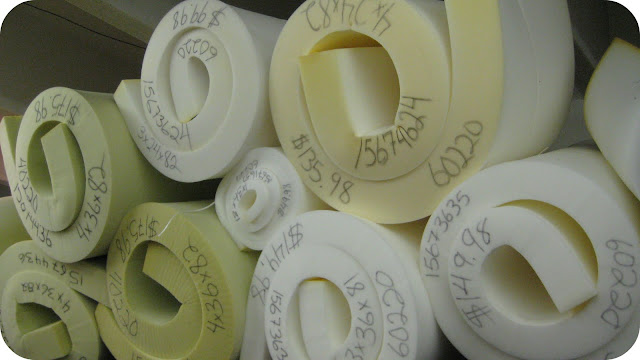
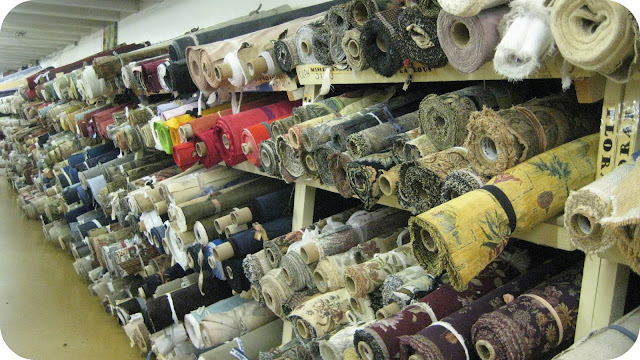
3.)    Having a decent storage space is essential.  Fortunately, we have a detached garage and a basement, so the project didn’t encroach on our personal space.  Still, I realized that I probably should sell the desk before buying too many other potential projects…

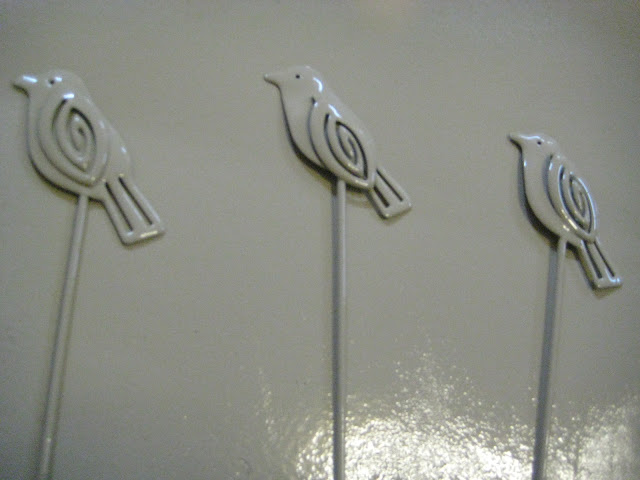
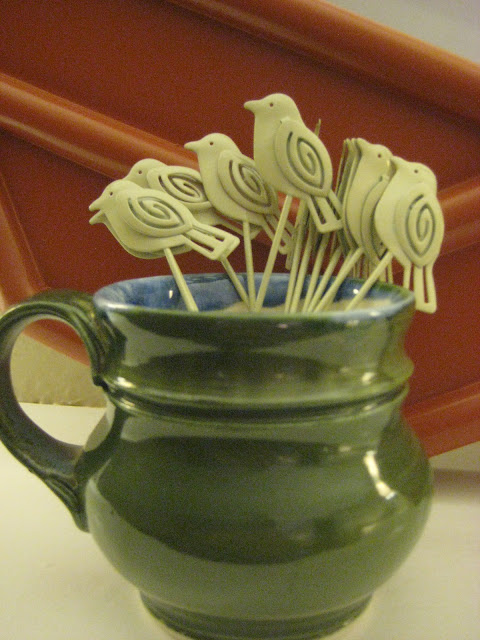
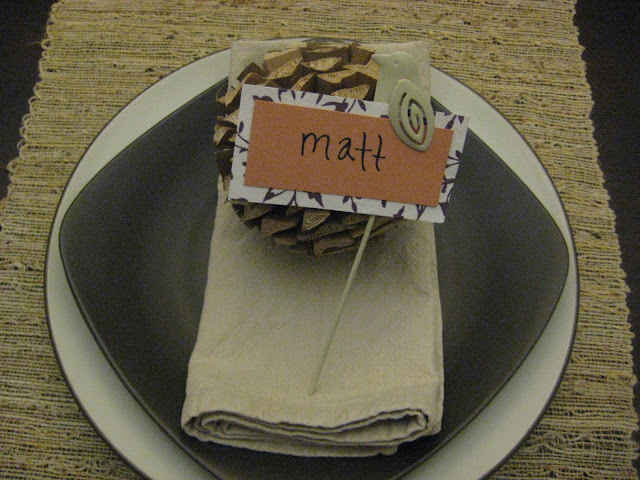
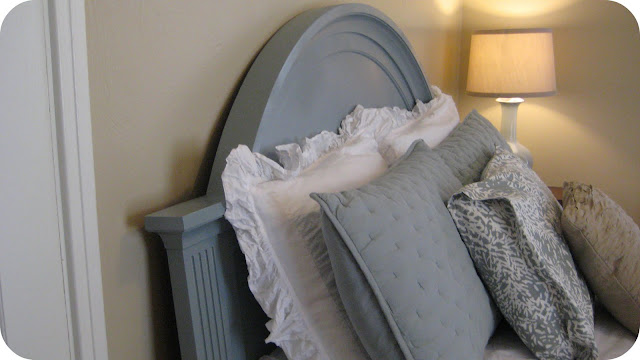
4.)    There are loads of people who liked the style of the desk—let’s call it slightly distressed shabby chic.  You might even say it has a cottage feel.

5.)    Being patient and waiting for the right person to come along on Craigslist is a must!

6.)    It was worth taking the risk.  Now I have the courage to try again!

Some of you may be wondering what I plan to do with the $75.  My plan is to give 10% of what I earn via refinishing furniture to a home related cause or charity.  There are a lot of ways this could go.  I’ve considered Habitat for Humanity, The Alma Project, Casa Vida y Esperanza in Magdalena, Mexico, and Gateway Woods.  I’m leaning towards Gateway Woods, which provides a home for “lost and wounded children.”  My family has been strongly involved in Gateway Woods for many years, and I truly believe in the work they’re doing.  The rest of it will go back into our home, which supports my DIY hobby, helps complete our home, and provides a bit of blog fodder.  One of the reasons I wanted to sell something on Craigslist in the first place is due to the fact that we have a limited budget, and I have to be creative in finding the $$ to splurge on my wish list.  While that can be challenging and sometimes frustrating, I think it gives me a greater appreciation for what I earn.  You know—like when you had to save your pennies as a kid.

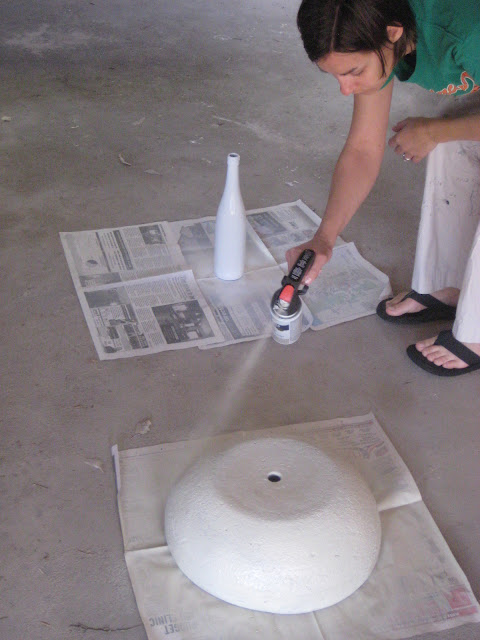
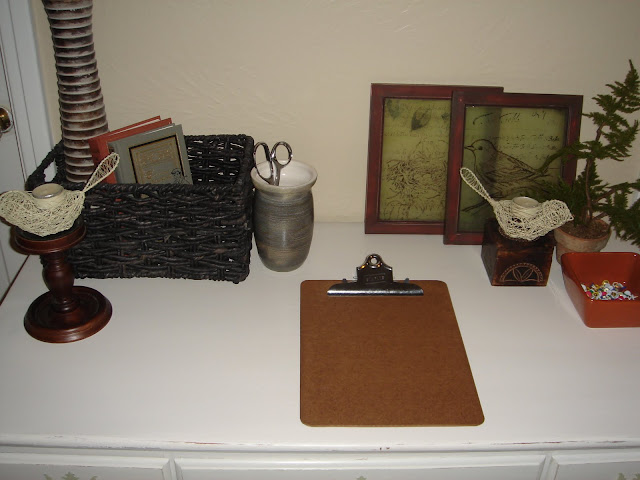
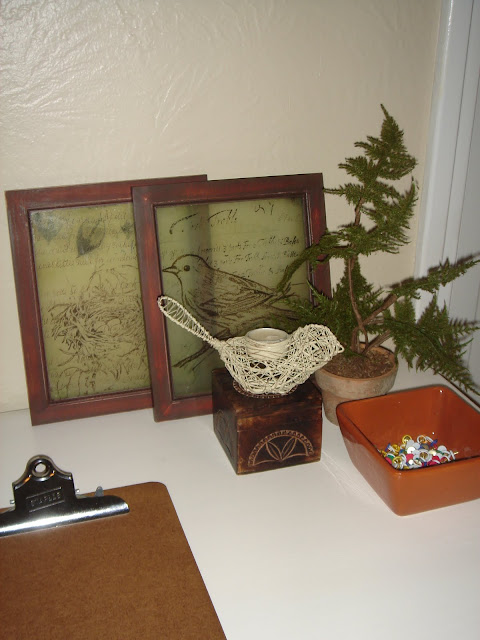
About an hour before Julia came to claim her “new” desk, I decided that it would be fun to snap a few photos of the desk, so I ran around our house grabbing random items, which I then arranged on the desk in an attempt to make it a functional, yet cozy and personalized, workspace.

The first arrangement has a clean, breezy feel.  (Pardon the washed out look against the wall...twas a bummer I didn't have a colorful flower handy to pop in the white bottle.)


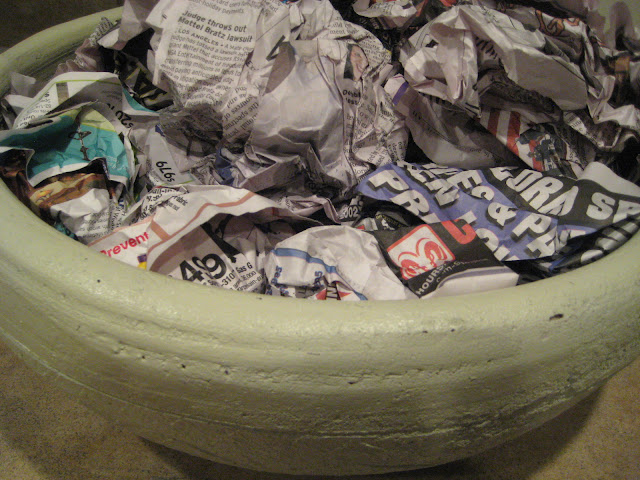
The second one is a bit more rustic and warm.


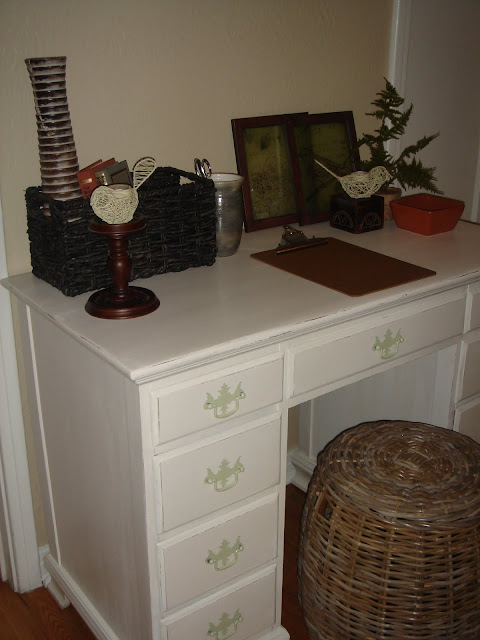
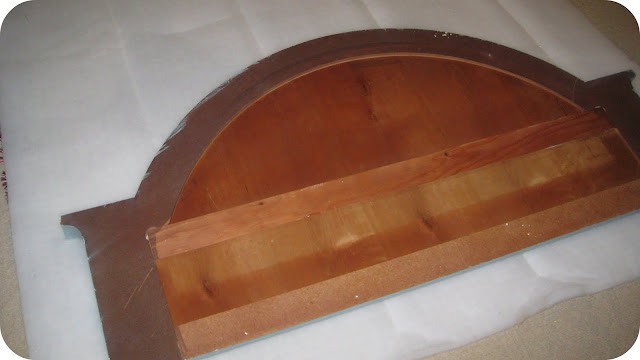
Hmmm…I’m feeling inspired to tackle the desk in our guest bedroom.  (Sorry, but I don't have a good shot of the inside.)


We don’t currently use this desk much, but in the fall I start a new teaching job where I will teach a few days in the regular classroom and the rest online.  It’s completely new for me—so exciting and so scary—but I can’t wait to try on more flexible hours.  All that to say, I think having a comfortable and inviting workspace is really important, so I’ve been brainstorming ways to make that a reality in my own work-from-home-space.  More on that later…

P.S. So here’s the missing camera scoop… Our third year anniversary fell over our trip to Yellowstone, so Matt sweetly planned a surprise overnight stay at the Lake Hotel, complete with a romantic dinner and dressy clothes to boot.  (We were camping, so a shower sounded like bliss!)  Since we were traveling with another couple and their 14 month old daughter, they were going to drop us off at the hotel and pick us up the next morning—such great friends!  We had spent the entire day taking in the geysers and mineral basins, and we were running a tad late for our dinner reservation.  As we careened down a curvy road trying to make up for lost time, our friend’s poor daughter threw up her entire day’s worth of food…all over everything.  Needless to say, we pulled over and it was all hands on deck as we cleaned everything up.  After fifteen minutes we were back on the road, and about two miles later we spotted our first grizzly bear!  I was freaking out, because I wanted so badly to see a bear on our trip.  Of course, I’m screaming, “Get out the camera, get out the camera!”  *Crickets.*  No. camera. to. be. found.  Long story short, we went back to look for the camera multiple times on the side of the road.  Nothing.  We even filled out a lost and found report, but so far we haven’t heard anything.  Our final conclusion is that during the crazy puke pullover, we probably placed the camera on top of the vehicle and drove off with an unsecured camera.  So sad.  The good news is that we still had a great anniversary, and now our friend is lending us a camera that her brother won.  But that’s actually another story for another day…

Thursday, April 21, 2011

A Blank Canvas…

That’s how I feel about our dining room walls, especially the large one that’s just ripe for décor.  Here at the Shant we are slow to hang things on our walls (we’ve lived here over a year!), probably because they’re plaster (although the dining room walls are dry wall since we gutted the old sun room and turned it into a great eating space), which is way more finicky than dry wall, but also because we like to live in our space awhile before spending lots of time and/or money on décor.  But I subscribe wholeheartedly to the “hustle while you wait” mentality, so of course I’ve been keeping my eyes peeled for any inspiring wall décor I come across.  Here are a few of my favorites…


Young House Love


Style Court


Pottery Barn


The Lettered Cottage


High-Heeled Foot In The Door


Pottery Barn


Akk.  I was really torn over all the stellar ideas out there, especially the slightly eclectic gallery wall that seems to be all the rage.  I’ve been itching to try my hand at this, and our dining room is the perfect place for it.  The room is simple enough to handle a busy arrangement and because it’s dry wall we can afford to make a few mistakes while we’re figuring out how to hang a bazillion pictures.

Alas, we chose to go the simpler, cleaner route for now.  As I write this post, I wonder if we made the right decision.  I mean, how cool would it be to have a gallery wall?!  But if you know anything about us by now, we’re committed to our budget.  The reality is that even if we were to buy used frames and DIY all the artwork, it would still take some serious cash to make it look decent.  And since we were getting ants in our pants to do something with the dining room walls, we opted for the safer route.

Before hanging, we hung paper on the walls in place of frames to figure out our spacing.


While I love these Target frames...


I would love them even more if they didn't have such difficult hanging hardware...


This required some extra measuring (thank goodness this English major married a man who understands all kinds of math), but eventually Matt figured it out.


Take a look at the final product!


Versatility is a great thing, which is one of many reasons why I love love love white frames.   Ultimately, we came to the conclusion that when we have the energy, time, and money (do those ever all line up at the same time?), we’ll simply move the frames to another spot in the house (perhaps right over our living room loveseat) and settle them in a new home.

For now, they’re filled with photos of succulents that Matt snapped at the Denver Botanical Gardens—which we recently visited for free with my cousin Andy—and after googling around for a coupon, we snagged a deal at Walgreen’s and got four 8x10 photos for under $7 total!  We both agree that this art is not permanent, but it’s great for now.


We’re pretty happy with our crisp and clean frames.  It makes me even happier that my husband’s handiwork is framed inside them!

Oh, and if you think the frames look small on the wall, they really don't when you see them in person.  I'm a total amateur when it comes to photography...

Tuesday, April 19, 2011

Crafty Centerpiece

Lately it seems that I’ve been doing lots of crafty projects.  In fact, I’ve been hoarding coupons for Michael’s and JoAnn’s!  It’s true.  When I was younger I loved arts and crafts time at school; I was the nerdy kid known to stay inside during recess messing with pieces of colorful construction paper while everyone else played kickball.  Apparently the bug has bitten me again—although I do enjoy getting outside to play these days.

My latest project is a use-what-you-have DIY centerpiece.  While I really liked our table décor, it felt too fallish in the midst of the budding trees and bright colors popping up all over our neighborhood.


Plus, I was a little tired of moving everything on and off the table every time we eat dinner with a large group—something that is becoming more and more common (hurray for friends and the ability to host events!).  I wanted something simple and springy.  Most of my DIY inspiration comes from other bloggers these days, and I’ve been eyeing these mini topiaries over at Little Blue Prints for awhile now.


Aren’t they adorable?  But since we’re trying to save money to work on the outside of our house (paint, landscaping, etc.), I wanted to use materials that I had on hand.  That’s when my brain finally registered the large clay pot that’s been sitting empty in our backyard for over a year—whaalaa!  It turns out that the woman who previously owned our house was a serious gardener who loved clay pots.  Last summer my mom and I found a bajillion of them nestled beneath the pine needles in our backyard.  Turns out that she also never raked up her pine needles… While we gave away most of the pots for free, we did keep a few of the nicer ones.  I decided that it was the perfect size for a chunky tabletop centerpiece.

This is seriously one of the easiest projects ever.  I feel a little awkward even giving you the instructions, lest you think I’m insulting your intelligence.  All that said, a little tutorial never hurt anyone, right?

So here’s what I did:

1.)    Sprayed off said clay pot using a hose in the backyard

2.)    Perked it up with a few coats of Rust-Oleum Almond Gloss spray paint that we had leftover in our basement


3.)    Crumpled up old newspaper to create a thick base layer in the bottom of the pot


4.)    Glued fake (would it sound better to say “faux,” or is that completely dorky?) moss that I bought with a 50% off coupon at Michael’s to the top of the newspaper


5.)    Stuck a few felt pads on the bottom of the pot to keep it from scratching the heck out of our table

6.)    Ooohed and ahhhed over our fresh new centerpiece!


A few things to keep in mind… First, never buy anything full price at Michael’s or JoAnn’s, because they always have coupons available in the mail or online.  Before heading to Michael’s for the moss, I did a quick Google search to see if there were any coupons available.  I saved 50% just by taking a few minutes to look around the web.  Second, I ended up buying the moss table runner instead of several separate packages of moss.  By cutting it up, I gained a lot more moss for my money.  I also realized that I could peel the table runner apart, which thinned out my moss, but also made it more pliable and expanded the amount I had to work with.  Finally, table runner moss is held together by a piece of green netting which unfortunately shows through at times.  To hide the netting, I simply glued miscellaneous pieces of moss over it.  I did the same thing over any seams that showed.  Trust me—this is a messy project and you will have plenty of rebellious moss to cover any imperfections that you find.

Cost breakdown:

  • Large clay pot: came with our house—free!

  • Spray paint: leftover from another project—technically free!

  • Newspaper—we actually don’t pay to get the paper, but occasionally they leave one on our porch anyway, so we just save them for projects like this—free!

  • Moss table runner--$6 after 50% off coupon

  • Total: $6


This project took a bit of finagling, but with a few minutes of extra work I was able to create a unique and inexpensive centerpiece just in time for spring!

P.S. I also bought a hot glue gun at JoAnn’s for this very project, but I didn’t count it in the cost breakdown since I’ll use it forever.  Luckily I had another 50% coupon, so it cost me less than $7!

Wednesday, April 6, 2011

Kitchen Cabinet Inspiration

If you’re looking for an inexpensive way to update your kitchen cabinets, look no further!  Rust-Oleum has come out with a new product that allows you to paint your cabinets using a step-by-step method that leaves typical sanding and refinishing options in the dust!  From what we’ve heard, it takes some elbow grease, but the results are worth the extra effort.  Plus, your wallet will thank you!

For a virtual rundown of the entire process, check out the before and after photos from our good friends’ blog.

If that doesn’t convince you, read up on Centsational Girl’s experience playing around with these new products while attending a Rust-Oleum conference.

Has anyone else tried this method?  We’d love to hear about your experience!

Monday, April 4, 2011

Bringing Spring Inside

Colorado Springs hit a record high on Saturday—we were even inspired to hack at the stumps in our front yard. (Ahem…I should say Matt did most of the hacking while I pruned a few unruly bushes.)  Unfortunately, snow decided to rear it’s ugly head on Sunday, dragging us from the 80s to the 30s within 24 hours.  One of my friends told me that she was reading a book in her backyard on Saturday, practically sweating, and then she and her husband went skiing on Sunday!  And yes, for those of you wondering, that is actually pretty typical Colorado weather.  The good news is that today the sun is shining again and the snow will be long gone before tomorrow.


In spite of the recent cold, the tulips poking their heads above ground in our front yard have given me spring fever, so when I spotted these darling plant stakes in the $1 bin at Tar-jay, I decided to bring a bit of it inside.


While I love their simple bird design (I’m into all things bird these days!), I wasn’t all that thrilled with their colors.  But I’ve realized that just because an object might look dowdy at first glance, it often holds great potential—our house is a perfect example.  It’s all about looking past those awkward details and seeing what it could be if you just tweaked it this way or that.  Is anyone with me on this?

My idea?  Name place holders!

Creating these was a snap.  After a quick coat of glossy almond spray paint


I simply plunked them into one of our favorite mugs so they’ll be ready to go when we have guests over for dinner.


And since you can tuck pieces of paper between their wings, I think it would be fun to use these birds to label food dishes when serving buffet style.  To keep the spray painted portion from touching food, I’d just wrap the stem of the stake in foil.  And who knows?  Maybe someday they’ll grace actual house plants!


How’s that for adding a smidge of whimsy to a dinner party?

What other treasures have you discovered in the $1 bins?

Thursday, March 31, 2011

Paint Colors


Despite the fact that we haven’t been homeowners for long, we’ve already run the gamut of paint colors.  When it came time to choose a color palate for our home, I threw caution to the wind.  After living in dull apartments for so long, I was determined to be bold in our paint choices.

Unfortunately, in trying to step outside of my comfort zone, I strayed from my true self and quickly realized that the rainbow of colors made our house feel chopped up.  It was too stimulating and too hard to decorate.  It was not me.  The good news is that paint is not permanent, and while I was determined to live with the colors for at least one year, we experienced somewhat of a catastrophe in the middle of working on our house last summer.  (More details on that later—it’s quite the story.)  While it was devastating at the time, it provided another opportunity to paint—guilt free!

Below is a list of all our current colors, along with one other color that we really liked from our kitchen cabinets the first time around.  And it’s completely okay to laugh at this list, since the color Oat Bran is listed five times—and it’s a neutral, so some of you probably don’t even consider it a color.  But we do!  We love the calm that neutrals have brought to our home.  I’ve also included a few other paint colors that we like, because the truth is that we won’t remember their names or where we found them when it’s crunch time if they’re not written down.  My goal is to add colors to this list anytime something strikes my fancy.  I’ve found that taking the time to look at pictures of what others have done is very helpful in deciding if you’ll like it in your own home.  For those looking to paint soon, find some inspiration at this site.

Overall, I think it’s a good idea for homeowners to keep a list of rooms and their paint colors, that way, if a paint can is lost or the label becomes unreadable, you still have a resource and you’re not digging through cans in the garage.  It can be difficult to remember which shade of white you used on your trim!  Plus it might be fun to see the different colors that have graced your home over time.  By the way, our very first colors aren’t listed here—I kind of want to forget about them.  We’re starting fresh with the palate that revived our home.


Paint Colors

Living room

  • Oat Bran, by Valspar, semi-gloss, colored matched at Sherwin Williams in Super Paint


Dining room

  • Oat Bran, by Valspar, semi-gloss, colored matched at Sherwin Williams in Super Paint


Kitchen Walls

  • Bone Folder, by Martha Stewart, color matched at Sherwin Williams in Duration


Kitchen Cabinets

  • First paint color: Dried Thyme, by Benjamin Moore, semi-gloss, color matched at Sherwin Williams in Pro Classic

  • Second paint color: Ocean Floor, by Martha Stewart, semi-gloss, mixed at Home Depot in Martha Stewart


Master bedroom

  • Oat Bran, by Valspar, semi-gloss, color matched at Home Depot in Behr Premium Plus


Back bedroom

  • Northern Pear Tree, a Lowe’s brand, semi-gloss, color matched at Sherwin Williams in Super Paint


Bathroom

  • Oat Bran, by Valspar, semi-gloss, colored matched at Sherwin Williams in Duration


Stairwell

  • Oat Bran, by Valspar, semi-gloss, colored matched at Sherwin Williams in Super Paint


Ceiling

  • Pure White, by Sherwin Williams, flat, mixed at Sherwin Williams in Classic 99


Trim

  • Pure White, by Sherwin Williams, gloss, mixed at Sherwin Williams in Pro Classic


Wood floor

  • Natural, by Varathane Wood Stain, bought at KWAL


Other Paint Colors We Like

What’s your go-to color?

P.S. Sherwin Williams in Colorado Springs is having a 40% off paints and stains sale April 8-10th!  Check your local store for promos!

Tuesday, March 29, 2011

Making Some Headway

Our bed has always been bare bones—metal frame, box spring, mattress.  No trendy headboard for us.  But we finally finished our DIY headboard, and we’re spilling all the details, along with the ups and downs we faced along the way…

I’ve been itching to cover a headboard ever since seeing our friends take on the project, telling us that they wished they had attempted it sooner, since it was super easy.  Considering that headboards can pack a big punch, we were excited at the prospect of giving our master bedroom a more complete look without breaking the bank.  Endless tutorials on covering headboards exist online, so we thought we would follow the typical route of covering a rectangular piece of plywood with foam, batting, and fabric using a staple gun.

Before buying plywood, we decided to check out the price of foam and batting.  Thanks to a 30% off sale at Hobby Lobby, we found ourselves mulling over whether to piece squares of foam together or just buy a huge length of it.  Then there was the question of two-inch vs. one-inch foam (I really liked the idea of two-inch foam, since it would create a chunkier headboard—alas, it’s more expensive).  And soft cotton batting vs. scritchy scratchy batting… In the end, we bought tons of foam and batting, paid way more than I thought was necessary (and we hadn’t even looked at fabric yet!), and left the store feeling a little disappointed (that’s what happens when you go over budget).


Then, on a whim, I popped into the Restore and found this curvy headboard hanging out for only $15!  Apparently the lovely Cheyenne Mountain Resort donated all their old headboards to the Restore.


That’s when we hit the proverbial fork in the road.  I ended up returning all the other supplies—adios expensive foam and batting—and decided to start back at square one.  Since spray paint has been on my radar recently, I decided that I was going to let go of my dream of a covered headboard and just paint this wooden beauty to match our room.

Sadly, the lovely blue/grey that I used to paint our dresser hardware was a little overwhelming on a headboard—and it just felt like too many blues going on.  Plus I couldn’t get the sheen to look even, despite using primer and a spray gun.  Half of the paint looked shiny, while the other half looked matte.


Sigh.  Back to square one—only now I had a curvy headboard on my hands.  What’s a girl to do?  My options were:  1.) Use a regular brush and paint on a better color.  2.) Try to sell the curvy headboard on Craigslist and buy a regular old piece of plywood for another go at a covered board.  3.) Attempt covering the curved headboard.  4.) Give up on having a headboard altogether and just toss a picture above our bed.

After consulting with the boyfriend, I tucked my tail between my legs and decided to cover the curvy headboard.  Since it was already thick, we wouldn’t need to buy expensive foam, and we liked the unique, soft edges.  And then I remembered The Mill Outlet, which is an off-the-beaten-path fabric store that carries tons of great fabric at discount prices.  Bingo!


As it turns out, they have an amazing upholstery section in the back of the store and I found the perfect nubby linen upholstery to use on our headboard (Note: I first picked up regular linen fabric, but after speaking with a Mill employee, she informed me that regular linen would wrinkle like crazy.  If you prefer the linen/natural look, your best bet is to find it in the upholstery section.).


The best part?  They stock huge rolls of batting, which they were able to cut to size to fit our headboard.


Oh, and they cover buttons for cheap.  I still haven’t decided if I’m going to add buttons or not, but you know I like having options, so I’m tucking that info away for a rainy day.

Here’s the rundown:

1.)    Place the batting underneath the headboard.  The headboard should be face down.


2.)    Pull the batting tight over the edges of the headboard and staple.


3.)    I chose to use two layers of batting.  The bottom was thicker batting, and I went over it with soft cotton batting, just in case we might feel it poke through the fabric.  I simply placed the headboard (now covered in one layer of batting) over the soft batting, pulled the batting tight, and stapled.  I worried that having so many layers of batting, plus fabric, would make it difficult to staple, but I had no problems.

4.)    Finally, I ironed the upholstery and then laid it underneath the headboard, pulling it tight around the edges, and stapled.  I decided not to pull the batting and fabric tight over the curves; I simply rounded the edges softly.


5.)    Matt then screwed a metal plate to the headboard and a metal plate to the wall, which made it easy to hang the headboard.  And when you have plaster walls, that’s saying something!


6.)    Lean back and enjoy!


When it came time to commit to the first staples, I’ll admit I was a little nervous.  But once I started, the project just seemed to unfold naturally, and it was really fun!  I borrowed the staple gun, but ended up loving it so much that I really want to own one!

How have you dealt with that strange space above your bed?  We’d love to hear your creative ideas!

P.S. Go Butler!!  We’re officially rooting for the underdogs.  Gotta love March Madness upsets!

P.P.S. We’ve been enjoying spring break, but we’re ready to get back into the swing of things with regular posts.  Never fear—we have lots more to share!