Showing posts with label Lawn. Show all posts

Friday, July 13, 2012

Exterior Upgrades

Since moving into our 1947 home nearly 2 1/2 years ago, most of our time has been spent updating the interior.  While we did update the exterior stucco last fall, the yard has been…quite another story.  It’s by no means finished, especially the back, but we made some huge strides when my mom visited a few weeks ago. 

Before…

IMG_1936

In progress…

054

036 (3)

After…

067 (2)

We realized that in order to make progress in the front yard, we really needed to be ruthless.  As in, we had to eliminate much of what was growing in the huge front beds—because there was a LOT growing, but unfortunately, it lacked continuity and instead was a mass of confusion. 

After digging and cutting away, we planted several common boxwoods, along with some feathered grasses for height.  With some help from my dad, we added mulch.  In addition to the beds, we added sod to a bare patch in the front lawn.  As it turns out, that spot has always competed with our maple tree, plus we realized that our sprinkler system was skipping over that section, so it wasn’t receiving adequate water.  Dad and Matt adjusted the sprinklers, which allowed Matt to take a much needed break from watering it manually.  The sod seems to be taking great, and it looks fairly integrated with the rest of our lawn.  Let’s hope we can keep it alive!

The best part though, is that we added an Adirondack chair to the front stoop, so now we have a place to soak in the sun while sipping mimosas. 

069 (2)

Well, at least that’s my morning fantasy.  Haha.  Hasn’t happened yet… Mom also insisted on buying us some potted flowers, which add a nice bit of cheer and color.  Thanks, Mom! 

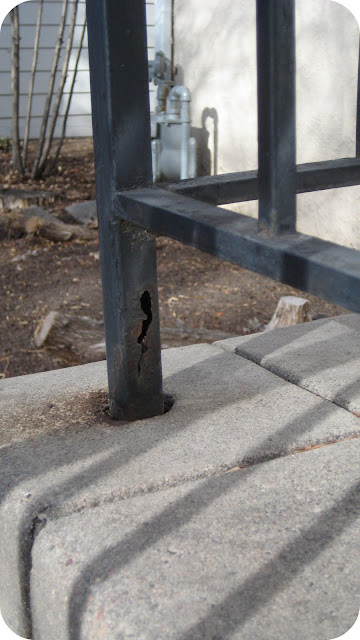
Now, if only I had a great DIY solution for those blasted railings.  I need to do some research on how to either replace or temporarily fix them.  While much of my frustration lies in their appearance, they’re also a liability.  Our 89 year old neighbor came over yesterday, and when she climbed our stairs, I feared she would fall as she clung to those rickety rails!  Yipes!  Note to any and all visitors: DO NOT USE THE BRAHAM’S RAILINGS!  THEY ARE A HAZARD AND NOT A HELP. 

Has anyone else been enjoying the great weather and working outside?  As a brown thumb, I’m always intimidated by the prospect of working outside, so I really appreciate all the work my hubbie and parents put in while I hung out with Liam.  Speaking of the little guy, here are few recent photos.  How about those smooshy lips, eh?  Enjoy!

Liam 7 Weeks 031

Liam 7 Weeks 015

Liam 7 Weeks 058

Liam 7 Weeks 060

Thursday, June 23, 2011

Simple Pleasures

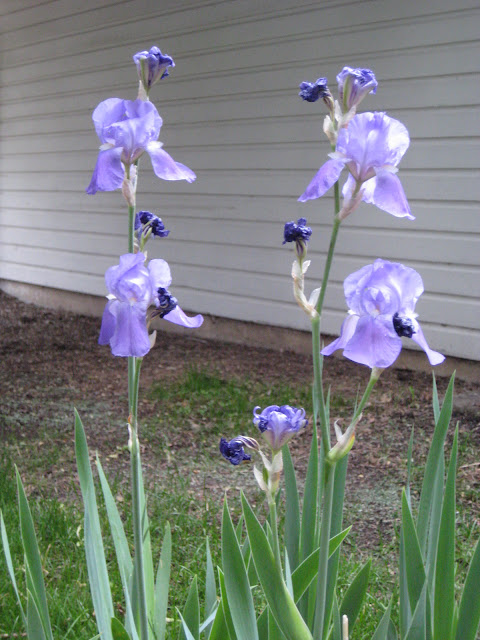
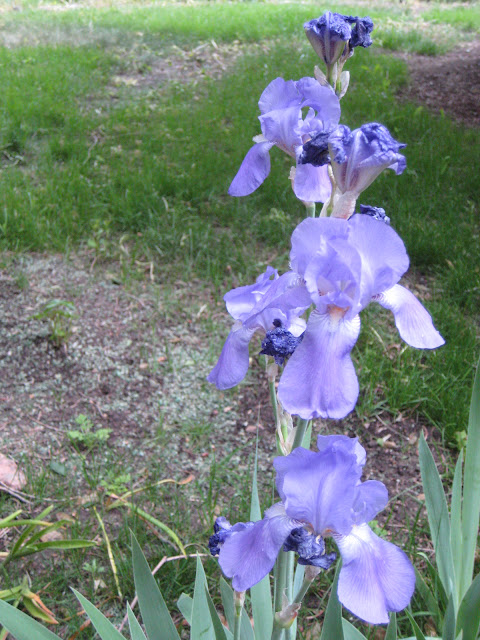
Our backyard is blooming!  Actually, it's been blooming for awhile now, but the irises are at their peak.


These lovely ladies just arrived, and their fragrance is a delight to the senses.  If you were to take a guess, what do you think they smell like?


As it turns out, they smell just like a bunch of grapes!   It tickles me purple pink that they're the same color and scent as grapes...

If you haven't taken the time to smell the roses yet, be sure to lean in and enjoy God's creation this summer.

Tuesday, June 7, 2011

Outside These Walls: Building a Brick Hedge

Today I’m here to showcase a project completed by my good friends, Josh and Amber.


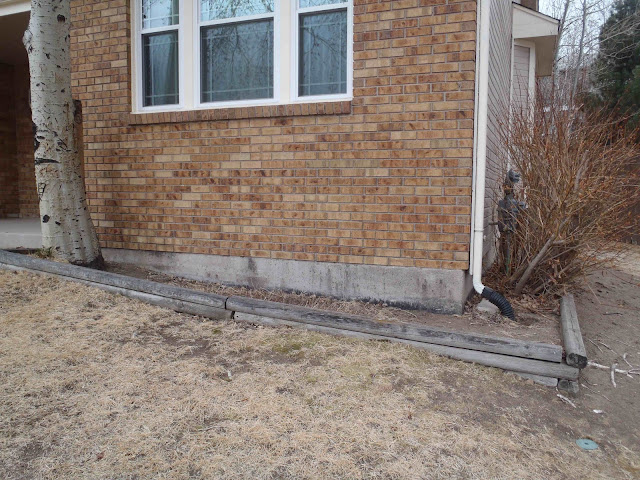
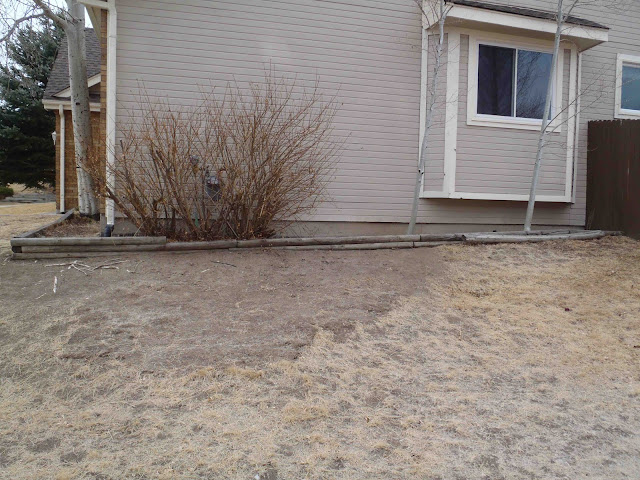
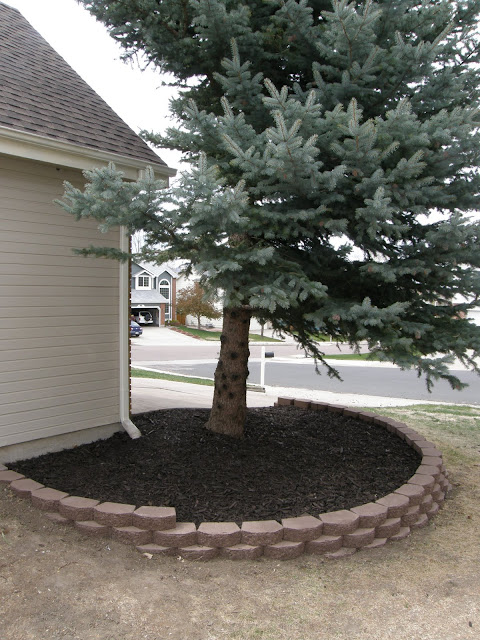
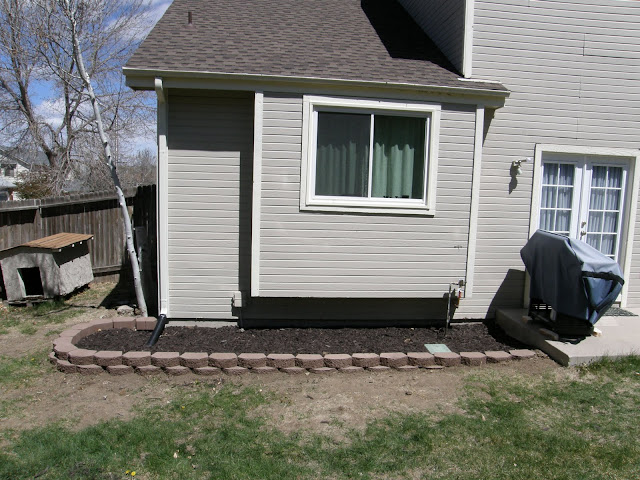
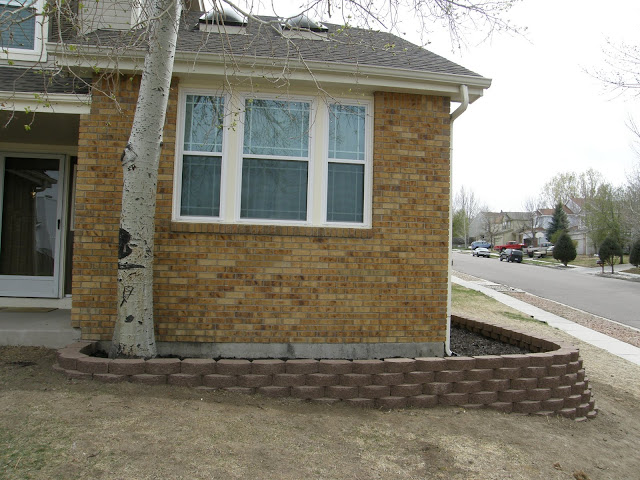
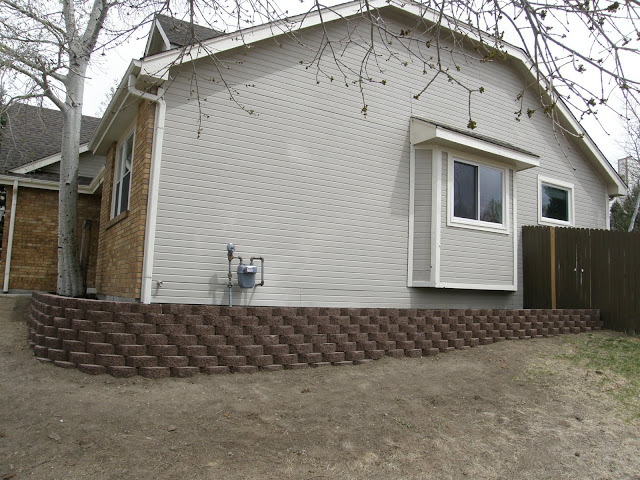
They bought their home a little over a year ago and have recently been concentrating on the yard.  To add some definition to their yard, they decided to build brick hedges around the side of their house and around some of the trees.

Before…


After!


Josh and Amber did all the grunt work themselves!  Here’s Amber’s step-by-step breakdown of the project:

First you need to measure out your wall and figure out how many blocks you'll need to purchase. You can calculate this with simple area formulas, but if you're not a math whiz just take your wall measurements to a local landscaping material company and they should be able to help you with the calculations. If you can, bring along pictures of the area, as that is usually helpful to them. While you're there you can decide what blocks you would like to purchase since they typically have a good selection and are often more helpful than Lowes or Home Depot.  Our wall was not very big, so we went with a smaller block (8in x 6in x 12in). Also, the larger blocks (12in x 8in x 16in) weigh about 75 pounds each, so the smaller 25 pound block seemed more manageable.

Then do a little price comparison. Check out the big box stores like Lowes and Home Depot, as well as local landscaping material retailers. Make sure to always factor in the delivery cost, which usually runs around $60-100! If you're willing to wait, usually Home Depot and Lowes have sales a couple times throughout the spring/summer season. We also opened a Lowe's business card, which saved us an extra 10% off our purchase, along with a $20 delivery fee rather than the usual $80. Altogether this ended up saving us about 50% compared to the local landscaping material companies, but this may differ depending on where you live. (Technically, the experts recommend you put down a layer of small rock and sand to aid with leveling the bricks which will obviously add to your cost. However, our soil is pretty hard so we skipped this step even though it took a little more time to get each brick level.)

Now you'll need to gather some tools. Here is what we used: small level (5 inches), large level (4 feet), hammer, flat edged shovel, pick axe, stakes, and twine. Use the stakes and twine to outline the shape of the entire wall. We lined up the back of each brick with the twine to ensure we ended up with a straight wall. Start your first brick at the lowest area. Make sure to dig down a little bit so the block is slightly submerged. Use the small level to make sure it is completely level.  Use the pick axe and shovel to dig the trench in both directions. Sometimes the claw end of the hammer was helpful to dig through the tough soil in order to get the ground level. Lay bricks one at a time, moving in both directions, making sure each is level (use the small level).  Once you've laid a couple bricks, use the large level to make sure the line of bricks is level. Continue this first level in both directions until the last brick is completely submerged in the ground. Now it is time to start the second level, continuing the same process as the first. Once the bricks from the second level become submerged in the ground, start the third level. Repeat this process until your wall is a tall as you desire. Place landscaping fabric/felt behind the wall and fill in the dirt/mulch behind your new wall.

Stand back and admire your hard work!


Don’t you love her oh-so-exact instructions?  She’s a math teacher.  *Wink, wink!*  I love how the new hedge adds definition and brings a crisp, clean look to their yard.

Keep in mind that Josh and Amber are not landscaping experts.  They simply had the desire to transform their yard on a dime, so they did a bit of research and got busy.  Great works, guys!  Now if only we could muster up the same motivation…

Wednesday, April 20, 2011

Stumps Be Gone!

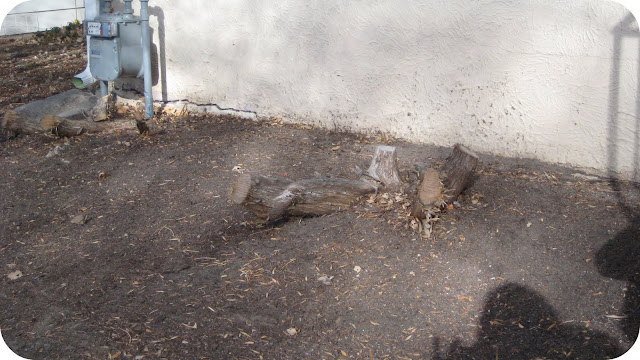
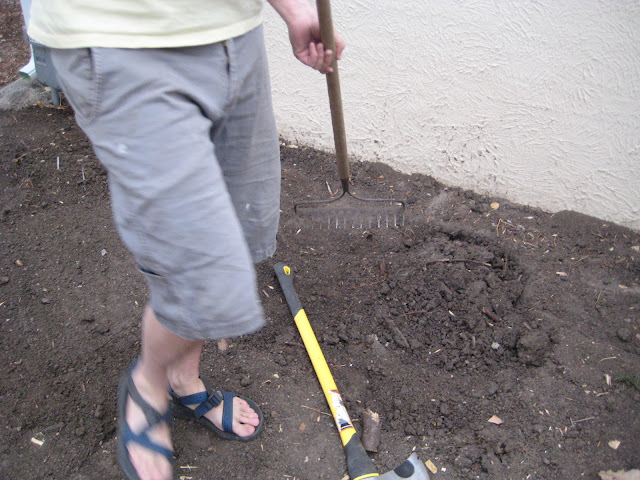
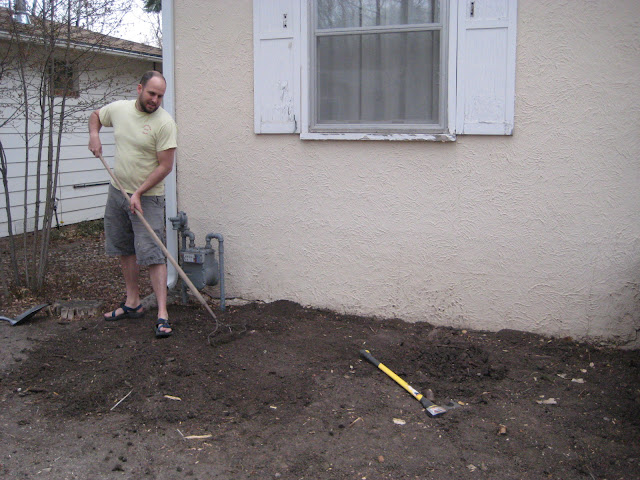
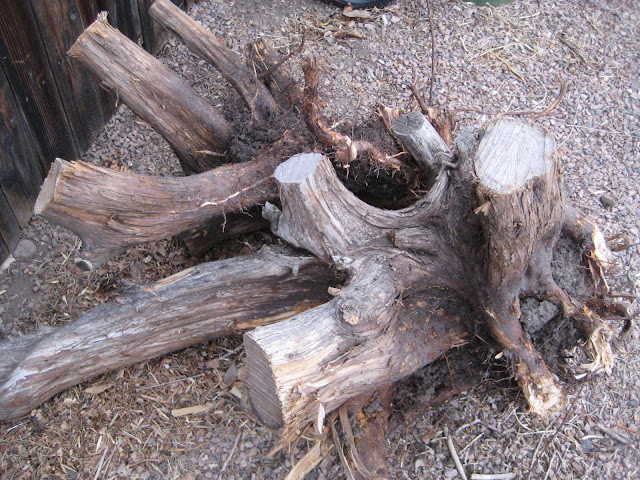
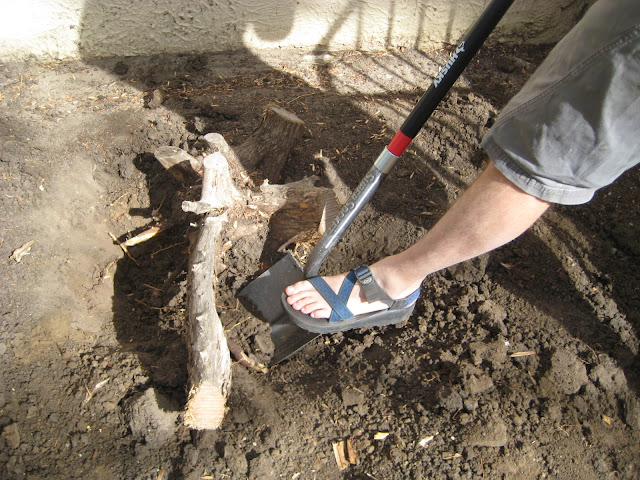
Remember the dreadful stumps in our front yard?  Thanks to my boyfriend’s muscles, they’re gone!  Sayonara baby!


While the huge dirt patch in front of our house isn’t all that attractive, I must admit that it looks much better sans stumps.  Now if we could just do the same thing to our Narnia light post… You know, I’m not even sure if it works or not.  Hmmm…I probably should add that to our list.  I’ll let you know what I find out!

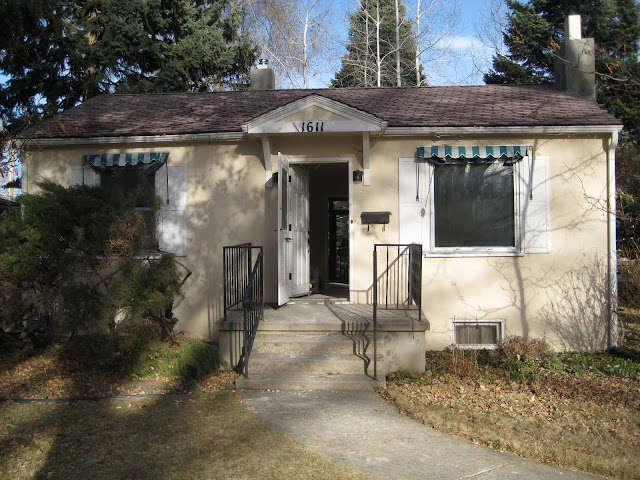
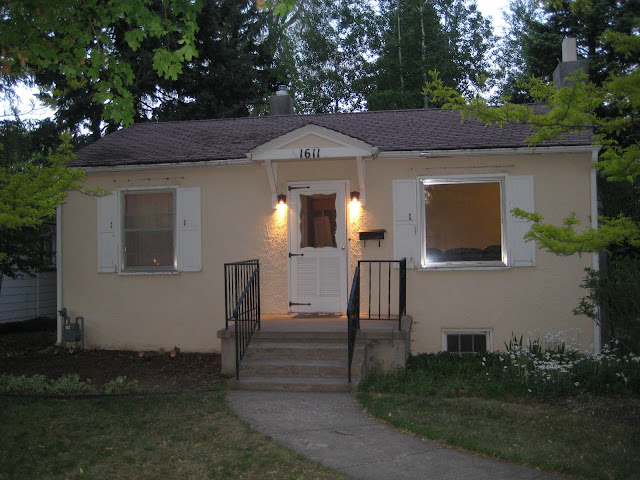
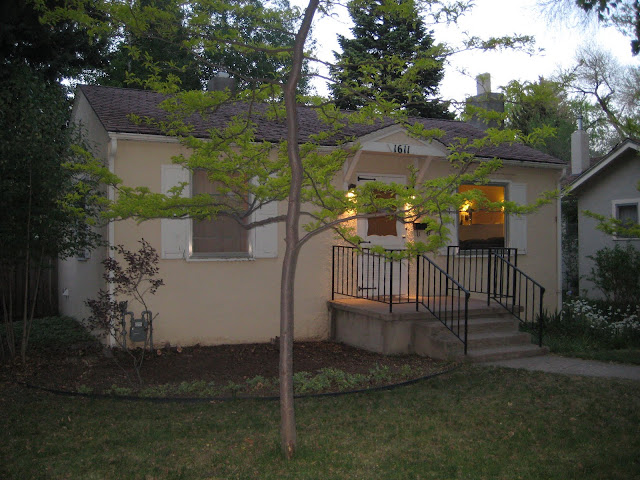
Here's what the outside of our house looked like a year ago...


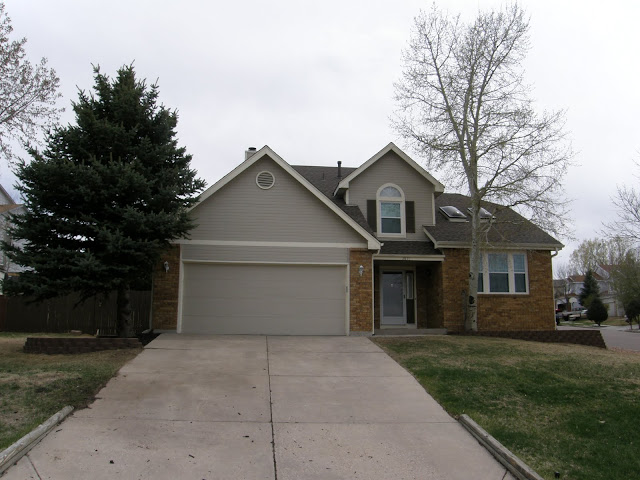
And although this picture was taken prior to the stumps being removed, it's a decent shot of what our house looks like today...


Clearly the outside needs some TLC.  But eliminating the awnings and all-consuming bush helped, right?  Once summer arrives we hope to do some serious sprucing, along with backpacking Four Pass Loop in the Maroon Bells and taking a road trip to Yellowstone.  We're determined to enjoy the West on a dime this summer.  Can't wait!

P.S.  In the previous post where I’m spray painting the clay pot, there is a white bottle hanging out in the background.  Just in case you were curious, it’s a wine bottle that I spray painted white and then added to our new bathroom shelf—read about that splurge here.  I think it’ll make a cute vase someday—and hopefully sooner rather than later, as I’d like to plunk a few flowers from our yard in it.  Now if they would just grow…

Monday, April 4, 2011

Bringing Spring Inside

Colorado Springs hit a record high on Saturday—we were even inspired to hack at the stumps in our front yard. (Ahem…I should say Matt did most of the hacking while I pruned a few unruly bushes.)  Unfortunately, snow decided to rear it’s ugly head on Sunday, dragging us from the 80s to the 30s within 24 hours.  One of my friends told me that she was reading a book in her backyard on Saturday, practically sweating, and then she and her husband went skiing on Sunday!  And yes, for those of you wondering, that is actually pretty typical Colorado weather.  The good news is that today the sun is shining again and the snow will be long gone before tomorrow.


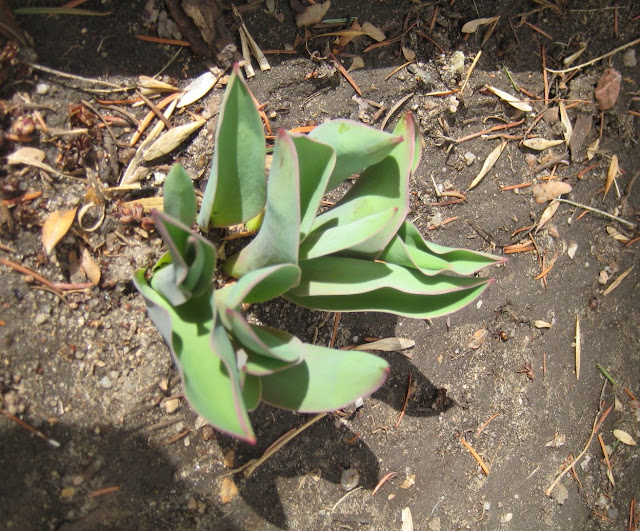
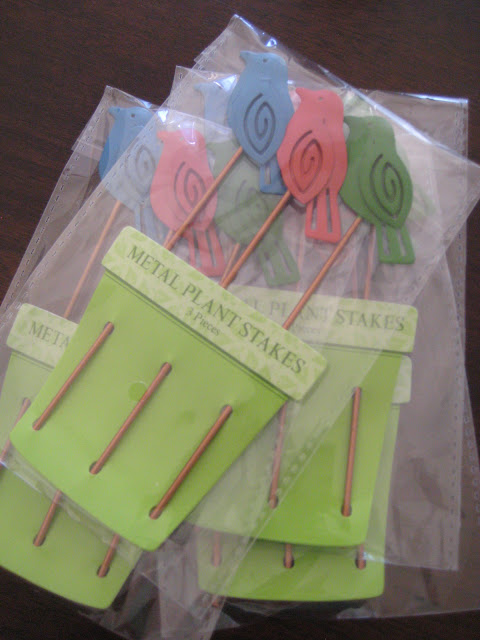
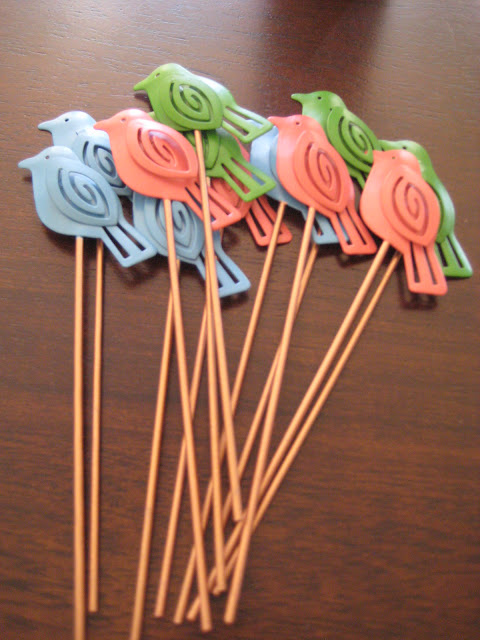
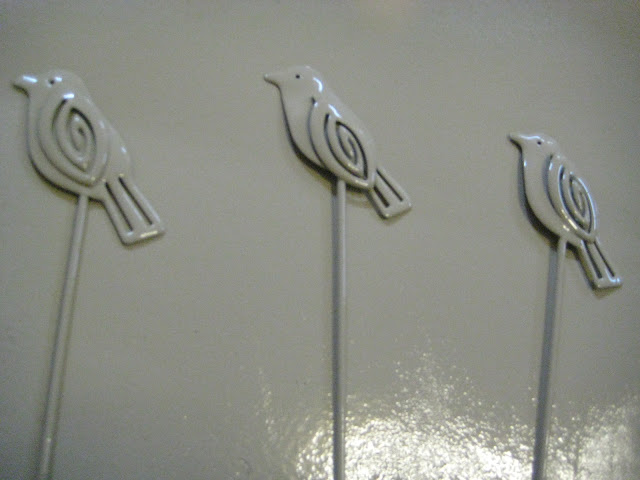
In spite of the recent cold, the tulips poking their heads above ground in our front yard have given me spring fever, so when I spotted these darling plant stakes in the $1 bin at Tar-jay, I decided to bring a bit of it inside.


While I love their simple bird design (I’m into all things bird these days!), I wasn’t all that thrilled with their colors.  But I’ve realized that just because an object might look dowdy at first glance, it often holds great potential—our house is a perfect example.  It’s all about looking past those awkward details and seeing what it could be if you just tweaked it this way or that.  Is anyone with me on this?

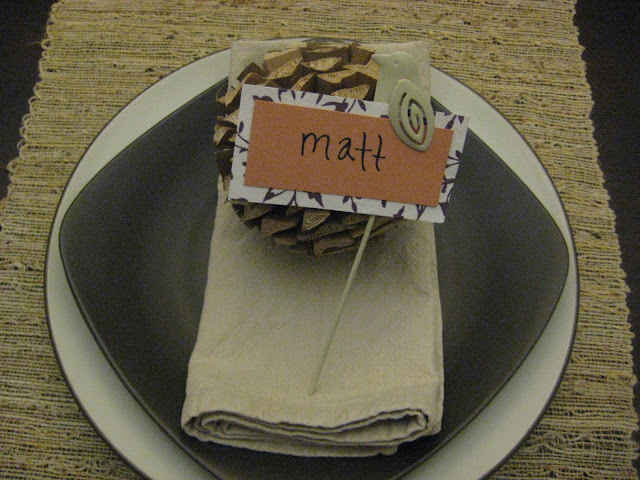
My idea?  Name place holders!

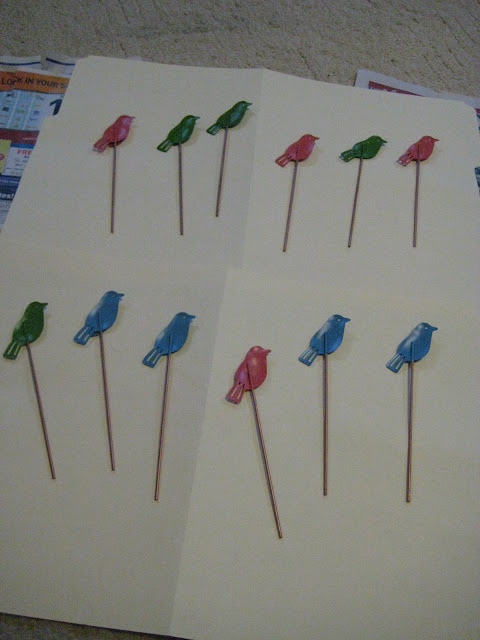
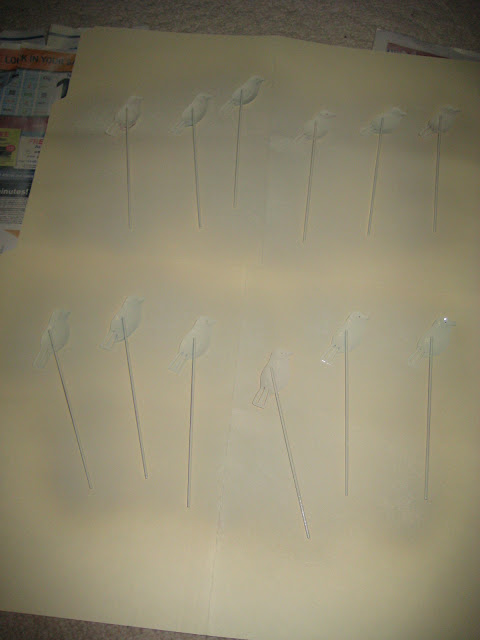
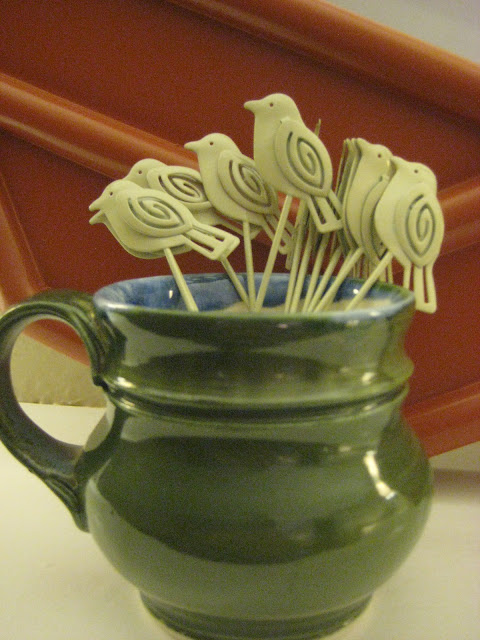
Creating these was a snap.  After a quick coat of glossy almond spray paint


I simply plunked them into one of our favorite mugs so they’ll be ready to go when we have guests over for dinner.


And since you can tuck pieces of paper between their wings, I think it would be fun to use these birds to label food dishes when serving buffet style.  To keep the spray painted portion from touching food, I’d just wrap the stem of the stake in foil.  And who knows?  Maybe someday they’ll grace actual house plants!


How’s that for adding a smidge of whimsy to a dinner party?

What other treasures have you discovered in the $1 bins?

Wednesday, March 16, 2011

Seeded & Mossified

We may have just created a new word.  Mossified.  That’s right.  On this absolutely divine day (somewhere in the 70s, which is a record high for March), we’re in the thick of yard work—namely, trying to grow grass.  As it turns out, this is quite a difficult task in Colorado, due to the minimal amount of rainfall and the arid climate.  It’s like the old adage, “The grass is always greener on the other side of the fence.”  (Quite a fitting phrase for this post, eh?)  I was just thinking of home sweet Indiana, where grass grows so quickly and ferociously in the spring and summer that it’s nearly impossible to keep up with the mowing, which is the total opposite of what we deal with in the west.  And I would know, because growing up, my summer job consisted of mowing our entire yard (several acres), as well as the local cemetery, which happened to be adjacent to the house I grew up in.  You might be thinking that it’s creepy to grow up near a cemetery, but I adored it.  It boasted beautiful trees, some lovely rustic gravestones, and since it was a township cemetery, few people ever came there, so it was a peaceful place.  But my trip down memory lane is leading me off topic…

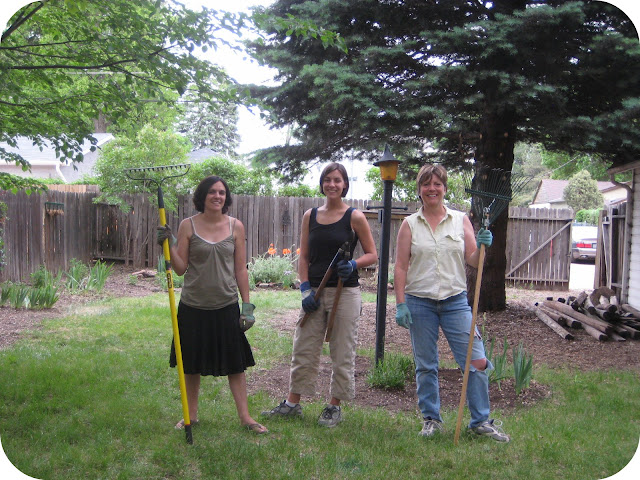
Last year we spent most of our time updating the inside of our home, but in the middle of it all, some of our awesome friends came over to help de-jungalize our yard, which looked like this.
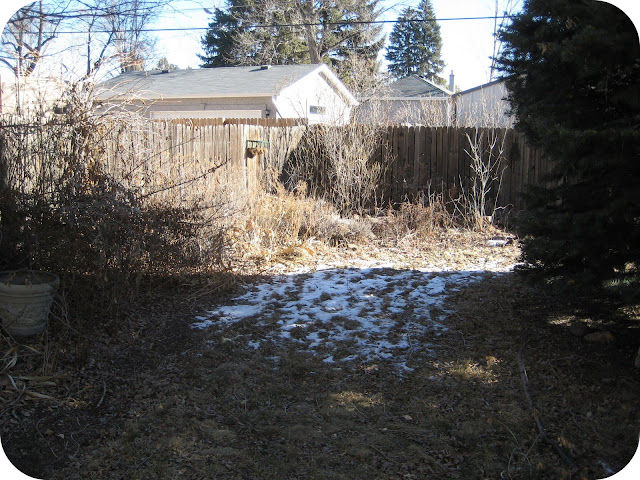

After some serious pruning, trimming, and weeding, it perked right up!

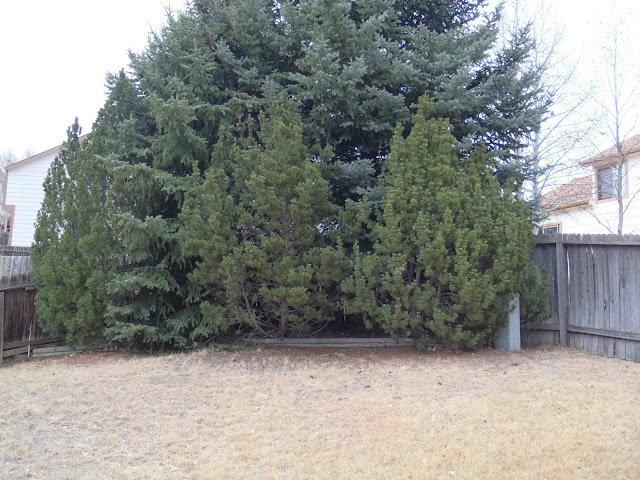
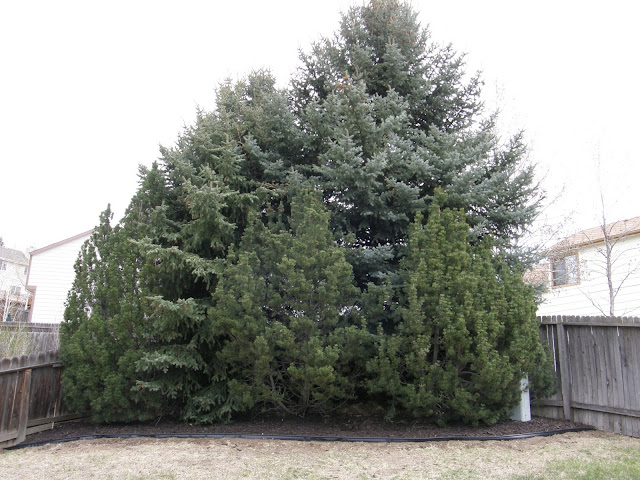
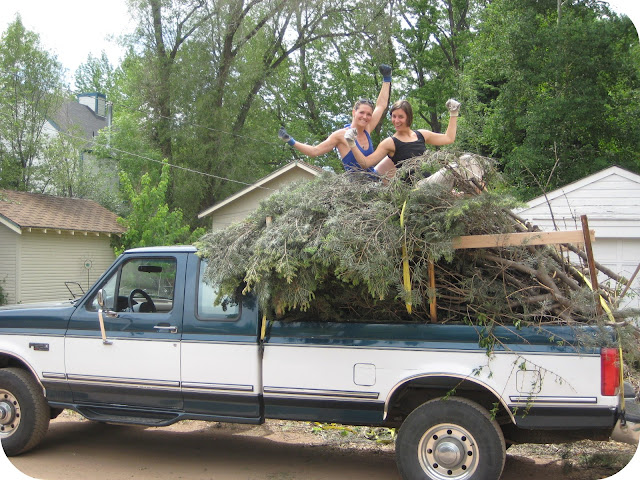
Can you believe how many branches we hacked off of our blue spruce?  Thanks to a borrowed truck, we were able to haul them to a local place that mulches branches for free.

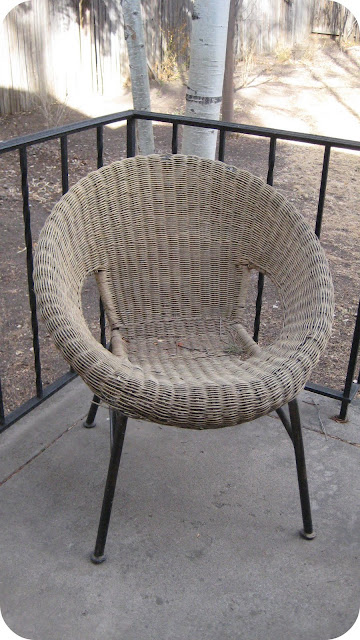
Our goal this summer is to tackle the lawn, along with painting the outside of our house.  Of course, I’m all giddy about my little pet projects, like painting the Adirondack chair we scored for dirt cheap during a winter sale, and maybe even giving our seen-better-days wicker chair a facelift.  I’m excited to add pops of color to the outside of our house and make it a true haven.  Is anyone else craving grilled shish-ka-bobs and burgers yet?

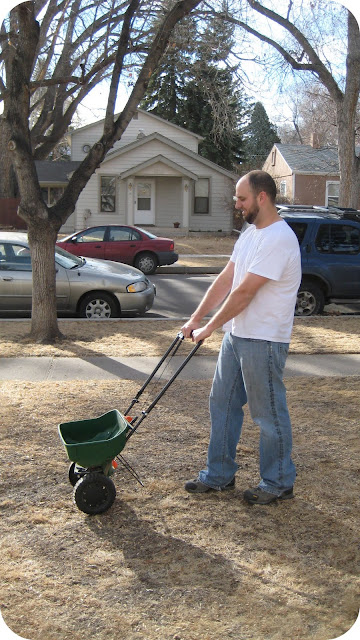
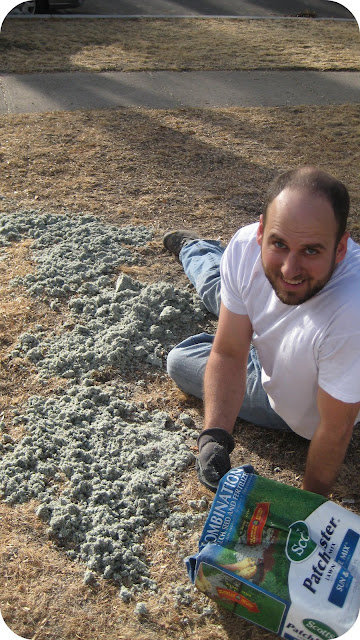
To prepare for warm weather, Matt raked up all the leftover leaves in our yard, and now he’s patching worn out areas with a mossy substance, along with grass seed and fertilizer.  Little did we know how expensive it can be to purchase one bag of grass seed—yow!  Our hope is that we can get our grass under control this summer, and then we won’t have to spend as much money maintaining it in the future.  We’re crossing our fingers!  Since we’re certainly new at the lawn care side of things, we’re open to any advice you might have, and since we bought our fixer-upper with no previous remodeling experience, we’re okay with the whole learn-as-you-go methodology.

Many people have told us that it will take several years for our yard to truly come into its own, so we’re trying not to get our hopes up too high, but at the same time, we’d like to shoot for accomplishing most of the following projects this summer:

1.        Simplifying our lawn.  The woman who lived here before us must have loved gardening, because she grew every plant known to man in a fairly small space.  Unfortunately, we’re not quite as devoted to lawn care as she must have been, so while we’d like the space to be beautiful, we just can’t imagine spending all of our waking hours weeding and maintaining the myriad of plants that sprout out of nearly every nook and cranny.  We hope to dig out some of the plants and replace them with low maintenance grass or rock.  In coming years, we’ll add bushes and flowers, but for now, we just need to purge.  I’ve heard it’s possible to give plants away for free on Craigslist, so we might go that route when we get there.

2.       Digging out stumps—can’t wait to get rid of those eyesores!
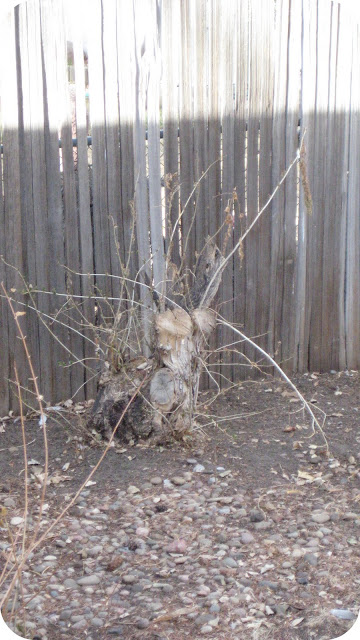


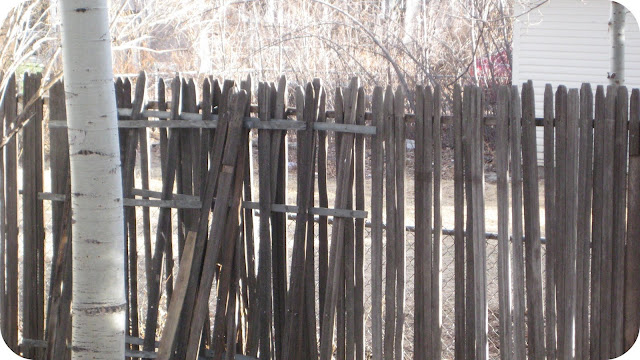
3.       Repairing the fence.  We’re not sure how long our fence will hold up, but for now, we plan to fill in gaps where we can and nail down loose pickets.

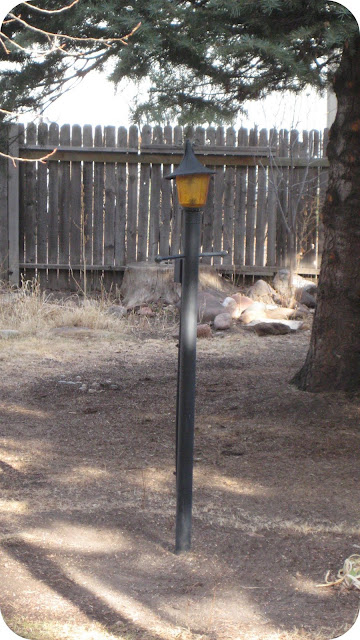
4.       Find a new light cover for our Narnia light post—can’t you just picture C.S. Lewis’ fawn, Mr. Tumnus, leaning against it?  I seriously wanted to yank this light post out of the ground last year, but one of my more practical friends said it might be nice to have an outside light when we’re hanging out in the backyard on balmy summer evenings.  If we can get rid of the witch hat top, I might be able to live with it.

5.       Repair or replace stoop railings.  This one may not happen this summer…
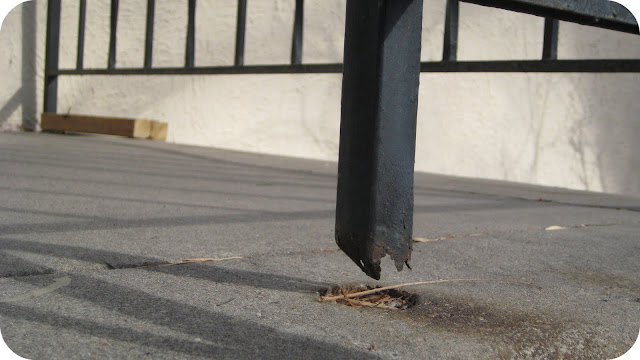


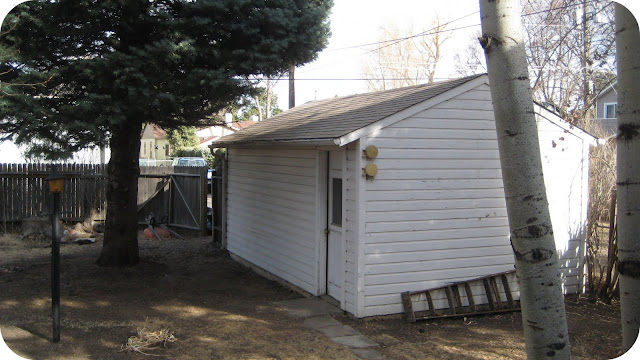
6.       Paint the outside of our house and detached garage.  We’d also like to replace the window trim with thicker pieces, and since some of the stucco needs to be repaired, we’ll probably try to do it all together.  As always, we’ll take into account where we’re at with our budget.
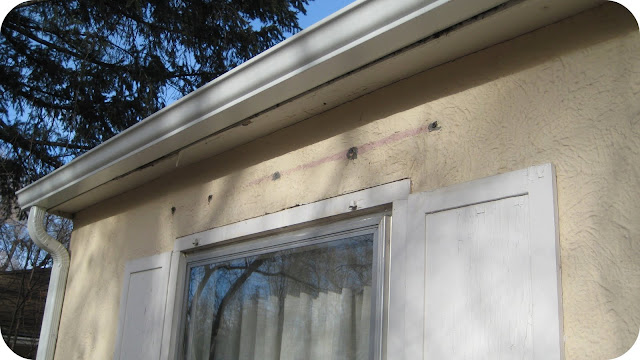


There are tons of other outside projects that I’m tempted to list, but it’s likely they will have to wait a few more years before they come to fruition.  Have I told you that patience is not my strong suit?  For now, let’s raise a glass to greener thumbs and St. Patty’s Day—cheers!