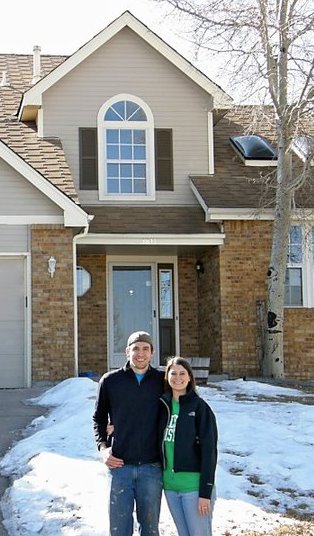
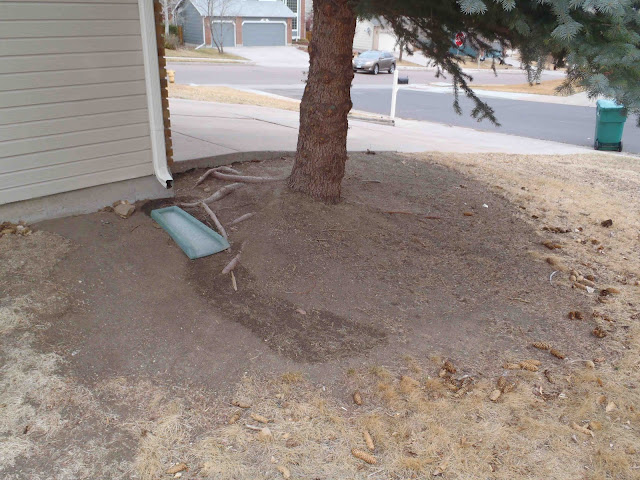
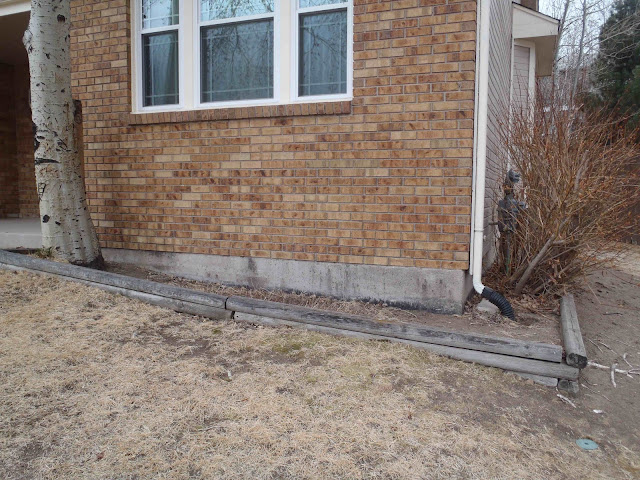
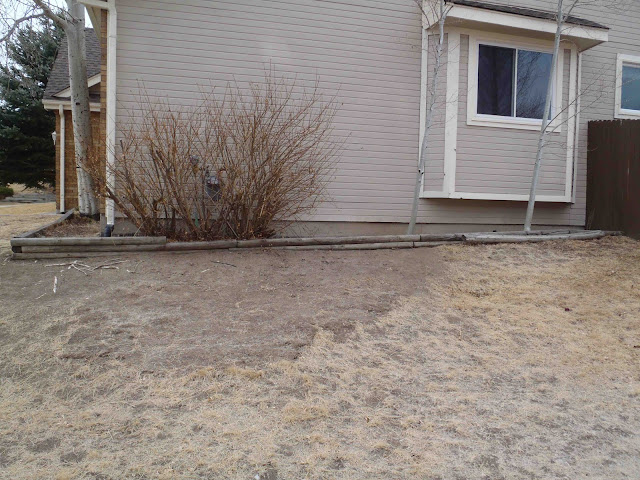
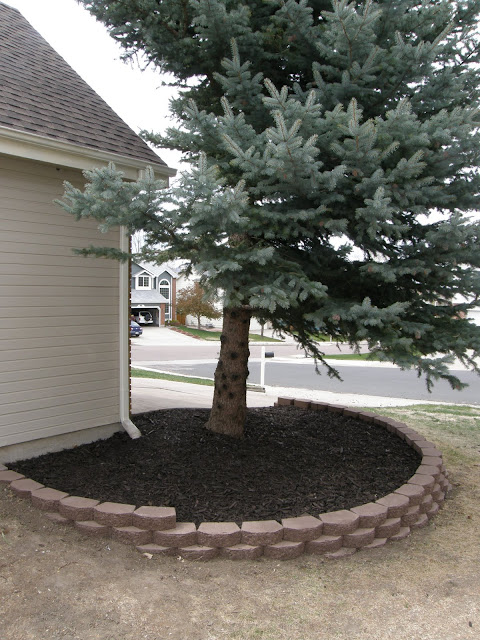
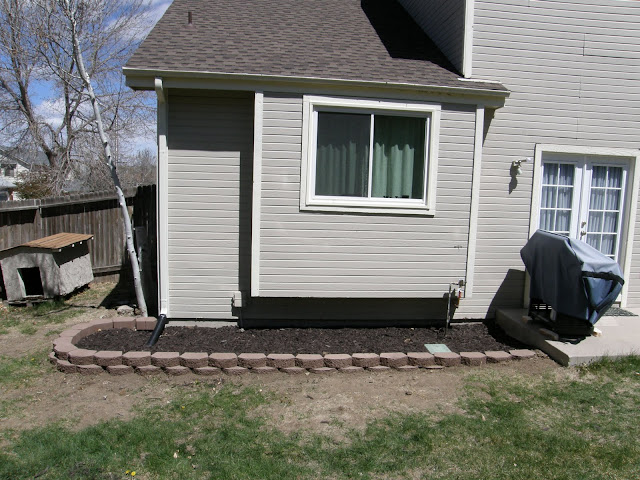
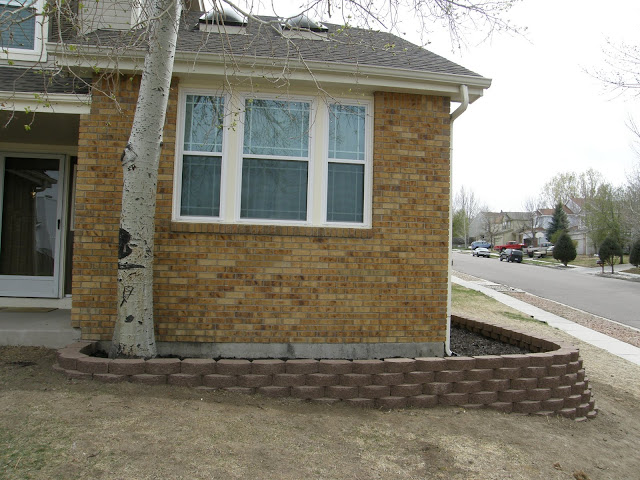
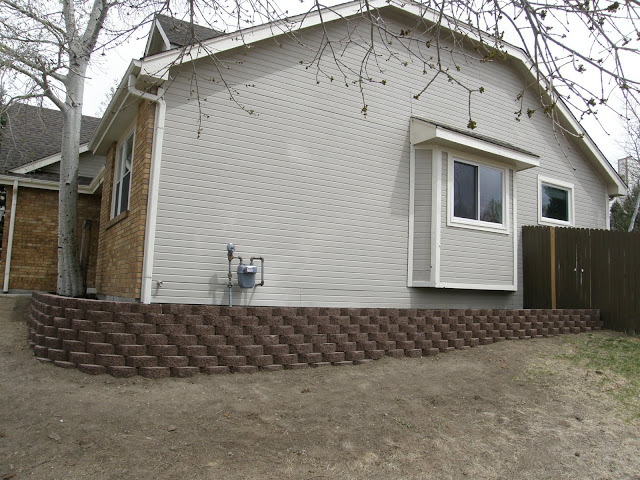
They bought their home a little over a year ago and have recently been concentrating on the yard. To add some definition to their yard, they decided to build brick hedges around the side of their house and around some of the trees.
Before…

After!
Josh and Amber did all the grunt work themselves! Here’s Amber’s step-by-step breakdown of the project:
First you need to measure out your wall and figure out how many blocks you'll need to purchase. You can calculate this with simple area formulas, but if you're not a math whiz just take your wall measurements to a local landscaping material company and they should be able to help you with the calculations. If you can, bring along pictures of the area, as that is usually helpful to them. While you're there you can decide what blocks you would like to purchase since they typically have a good selection and are often more helpful than Lowes or Home Depot. Our wall was not very big, so we went with a smaller block (8in x 6in x 12in). Also, the larger blocks (12in x 8in x 16in) weigh about 75 pounds each, so the smaller 25 pound block seemed more manageable.
Then do a little price comparison. Check out the big box stores like Lowes and Home Depot, as well as local landscaping material retailers. Make sure to always factor in the delivery cost, which usually runs around $60-100! If you're willing to wait, usually Home Depot and Lowes have sales a couple times throughout the spring/summer season. We also opened a Lowe's business card, which saved us an extra 10% off our purchase, along with a $20 delivery fee rather than the usual $80. Altogether this ended up saving us about 50% compared to the local landscaping material companies, but this may differ depending on where you live. (Technically, the experts recommend you put down a layer of small rock and sand to aid with leveling the bricks which will obviously add to your cost. However, our soil is pretty hard so we skipped this step even though it took a little more time to get each brick level.)
Now you'll need to gather some tools. Here is what we used: small level (5 inches), large level (4 feet), hammer, flat edged shovel, pick axe, stakes, and twine. Use the stakes and twine to outline the shape of the entire wall. We lined up the back of each brick with the twine to ensure we ended up with a straight wall. Start your first brick at the lowest area. Make sure to dig down a little bit so the block is slightly submerged. Use the small level to make sure it is completely level. Use the pick axe and shovel to dig the trench in both directions. Sometimes the claw end of the hammer was helpful to dig through the tough soil in order to get the ground level. Lay bricks one at a time, moving in both directions, making sure each is level (use the small level). Once you've laid a couple bricks, use the large level to make sure the line of bricks is level. Continue this first level in both directions until the last brick is completely submerged in the ground. Now it is time to start the second level, continuing the same process as the first. Once the bricks from the second level become submerged in the ground, start the third level. Repeat this process until your wall is a tall as you desire. Place landscaping fabric/felt behind the wall and fill in the dirt/mulch behind your new wall.
Stand back and admire your hard work!

Don’t you love her oh-so-exact instructions? She’s a math teacher. *Wink, wink!* I love how the new hedge adds definition and brings a crisp, clean look to their yard.
Keep in mind that Josh and Amber are not landscaping experts. They simply had the desire to transform their yard on a dime, so they did a bit of research and got busy. Great works, guys! Now if only we could muster up the same motivation…
No comments:
Post a Comment